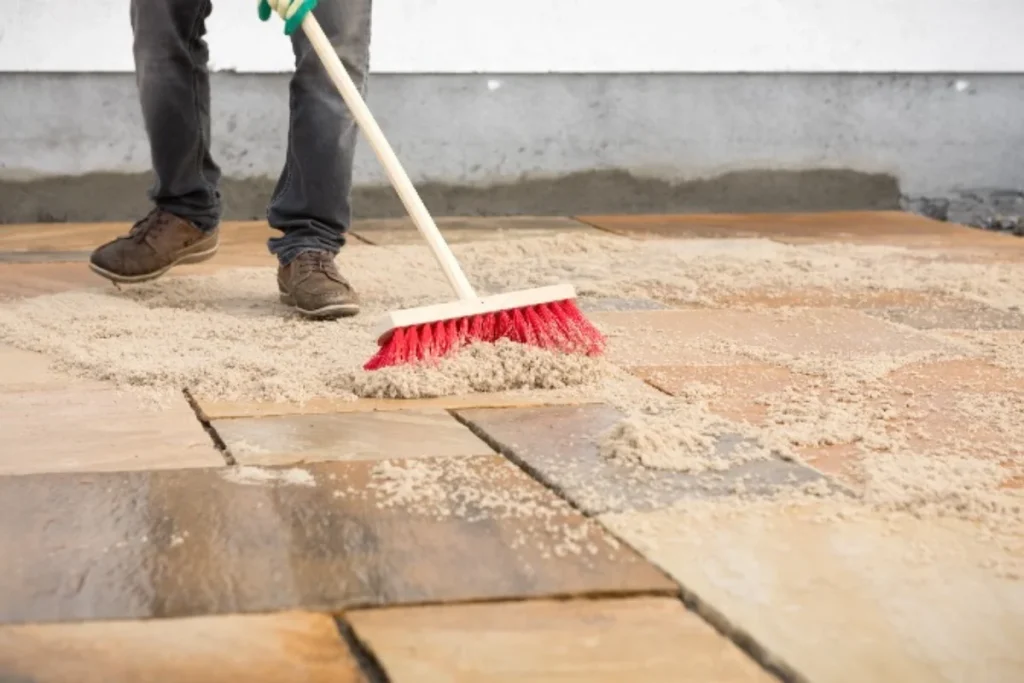
Home renovation is an intricate process that demands attention to detail and precision in every aspect. Among the myriad tasks involved, one technique that holds tremendous significance for the aesthetic and durability of tiled surfaces is grouting. As seemingly straightforward as it may appear, grouting is a skill that can prove pivotal in the outcome of a renovation project. This article explores the essentials of mastering grouting techniques so that your home makeover can shine in all its glory.
Understanding the Importance of Grouting
Grouting is more than just a task to fill gaps between tiles; it serves as a binding agent that adds stability to the tiled surface. It prevents moisture, dirt, and bacteria from seeping beneath the tiles, which could otherwise lead to mould growth and tile displacement. Thus, perfecting your grouting strategy is crucial for both the appearance and longevity of your tiles.
Choosing the Right Grout for Your Project
Before commencing with the grouting process, selecting an appropriate grout that matches your home renovation needs is essential. There are various types of grout available in the market, including sanded, unsanded, and epoxy grouts. The choice depends on the type of tile, the width of the joints, location (whether it’s indoors or outdoors), and the level of traffic the area will endure.
Unsanded grout is ideal for narrow joints up to 3 mm wide and is often used for walls as it’s smoother and easier to work into small spaces. Conversely, sanded grout is used for wider joints, ranging from 3 mm to 10 mm, and its sandy texture helps to hold the grout in place, preventing shrinkage and cracking. For areas with high moisture or that require robust stain resistance, such as kitchens and bathrooms, epoxy grout is recommended owing to its superior durability and water resistance.
Preparing the Surface
Preparation is key in many home renovation tasks, and grouting is no exception. The surface must be clean, dry, and free of any debris or adhesive residue before applying the grout. Any existing grout should be removed, especially if it is damaged or mould-infested, to ensure a clean slate for the new application.
The Grouting Process
The process of grouting itself demands careful handling. After choosing the right type of grout, it is mixed to the consistency of a thick paste. The mixture should not be too runny or too stiff, which can lead to complications such as easy cracking or difficult application.
With the use of a rubber grout float, the grout is applied on the tiled surface diagonally to ensure it fills all the joints completely. The angle of the float is critical; it needs to be held at a 30-degree angle to the surface to effectively press the grout into the gaps without scraping the excess off the tile surfaces completely. The diagonal strokes also help in avoiding the grout being scooped out from the joints.
Attention to Detail
Once the joints are filled, the excess grout should be cleared from the face of the tiles with the edge of the grout float. This step should be precise so as to not remove grout from the joints inadvertently. It’s important not to leave excess grout on the tile surfaces as it can dry quickly and become difficult to remove.
Grout Curing and Cleanup
After applying the grout, it is important to allow it to set or ‘cure’ for the period specified by the manufacturer, which is typically between 15 and 30 minutes. However, it is crucial not to let the grout dry completely before wiping down the surface with a damp sponge. This helps in smoothing down the joints uniformly and cleaning any residual grout from the tile surface.
The grout will require a further 24 to 48 hours to cure completely before the area can be exposed to water or regular use. During this curing period, it’s imperative that the grouted surface remains dry and undisturbed to ensure optimal strength.
Sealing the Grout
To enhance the durability of the grout and prevent staining, a grout sealer can be applied once the grout has fully cured. This is particularly important for cement-based grouts, as they are porous and can absorb liquids and bacteria. Sealant application is a straightforward process that can significantly extend the life of the grout.
Professional Grouting Services
While some homeowners may feel confident undertaking a grouting task themselves, others might opt for professional services to guarantee a pristine finish. Professionals possess the expertise, tools, and knowledge of the latest techniques to ensure that the grouting is completed flawlessly, contributing to the overall success of the home renovation project.
Conclusion
Mastering grouting techniques is an integral part of any successful home renovation project. The attention to detail and careful execution of this process goes a long way in enhancing the visual appeal and life expectancy of tiled surfaces. Whether performed personally or through professional services, a well-grouted surface can be the difference between a mediocre renovation and a stunning home transformation.
From selecting the right type of grout to the careful application, curing, and sealing, each step in the grouting process contributes to a cohesive and beautiful tiled surface. As homeowners embark on their renovation journeys, these grouting tips will ensure that the foundational efforts behind the scenes will reflect beautifully in the forefront of their residential masterpiece.
